Inspections Service
Whether you are developing products, projects, or processes, you need to be a trusted independent inspection company to ensure that both your legal obligations and the high standards you expect are met at every stage. Our comprehensive range of inspection services helps
you to reduce risk, control quality and quantity, and meet all relevant regulatory requirements across different regions and markets.

Non-Destructive testing
Non-Destructive testing from CITADEL – ensures the safe and efficient operation of your equipment and assets by detecting defects before they result in severe damage, and assures compliance with international standards.
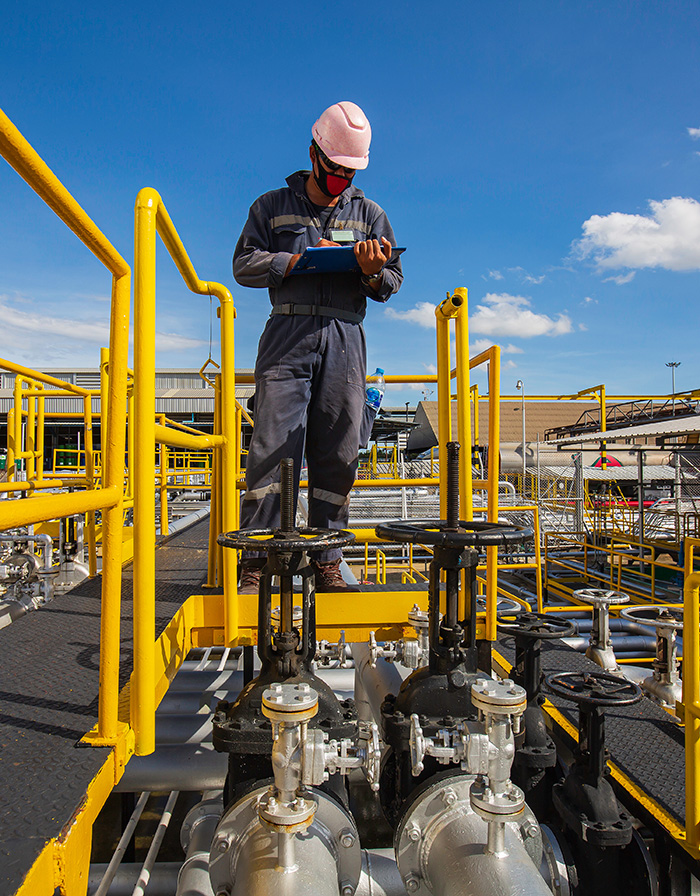
From construction sites, pipelines and refineries to shipyards and power plants, you need to monitor and improve the reliability of your processes and equipment. Our Non-Destructive Testing (NDT) services offer you complete or sample examination of your assets, using well-designed procedures and highly trained and certified NDT inspectors. As a result, we can provide you with complete and valuable data, enabling you to make informed asset management decisions.
We offer you the most effective NDT methods to investigate the integrity of your equipment and assets. Our comprehensive range of NDT methods can help you
Radiographic testing
Industrial radiography is used for a variety of applications but is commonly performed using two different sources of radiation, X-Ray and Gamma-ray sources.
The choice of radiation sources and their strength depends on a variety of factors including the size of the component and the material thickness. Within the broad group of X-Ray and Gamma-ray sources are a variety of camera choices with varying radiation strengths.
CITADEL Engineering Services X-Ray capabilities run the gamut from 4 MEV units utilized to radiograph extremely large and thick castings and forgings, to portable X-Ray cameras used for field weld applications and thin-wall material inspection. Gamma sources vary from very low-level fluoroscopic units to perform real-time corrosion under insulation surveys, to Iridium (Ir192) and Selenium (Se 75) sources used for a variety of weld inspections, to Cobalt (Co 60) inspections for thick component testing.
There are many advantages to radiography including:
inspection of a wide variety of material types with varying density, ability to inspect assembled components, minimum surface preparation required, sensitivity to changes in thickness corrosion, voids, cracks and material density changes, the ability to detect both surface and subsurface defects and the ability to provide a permanent record of the inspection. The disadvantages of radiography are: safety precautions are required for the safe use of radiation, access to both sides of the specimen is required, the orientation of the sample is critical, and determining flaw depth is impossible without additional angled exposures.
CITADEL NDT Services supplies a complete line of radiographic services for both shop and field applications. Our staff of qualified, certified, professional radiographers operates within strict safety parameters and produces high-quality radiographs that allow us to utilize our interpretation skills honed through many years of experience to determine if an anomaly is actually a defect or can be accepted per code requirements.
Allow the experts at CITADEL Company to prescribe the proper radiographic technique for your needs.
Ultrasonic inspection
Traditional Ultrasonic inspection uses high-frequency sound energy to conduct examinations and perform measurements. Considerable information may be gathered during ultrasonic testing such as the presence of discontinuities, material or coating thickness. The detection and location of discontinuities are enabled by the interpretation of ultrasonic wave reflections generated by a transducer. These waves are introduced into a material and travel in a straight line and at a constant speed until they encounter a surface. The surface interface causes some of the wave energy to be reflected and the rest of it to be transmitted. The amount of reflected vs. transmitted energy is detected and provides information on the size of the reflector, & therefore the discontinuity encountered. Three basic ultrasonic techniques are commonly used:
- Pulse-echo and through transmission
- Normal/Angle Beam
- Contact and Immersion
Phased array inspection Service
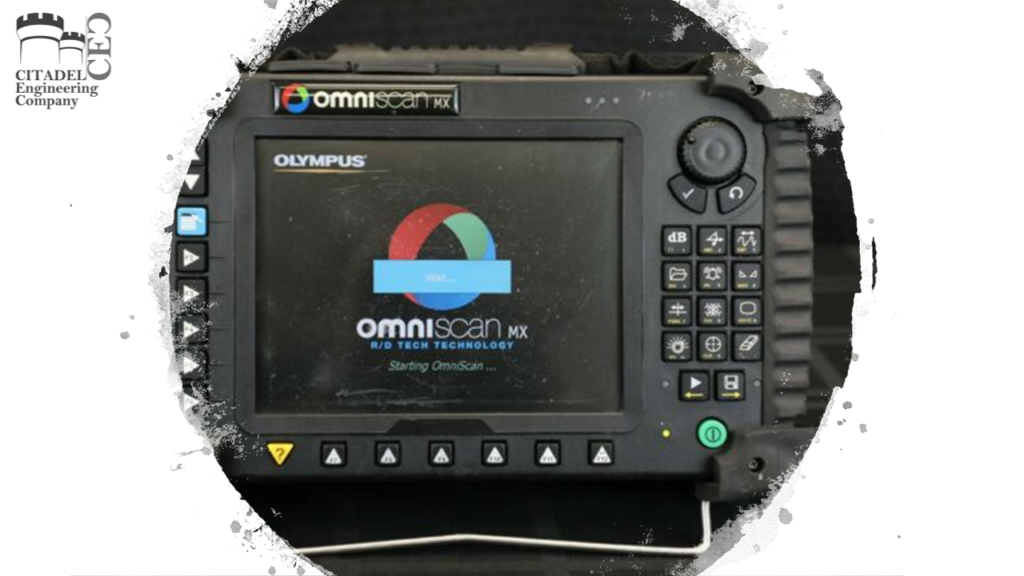
Phased array technology generates an ultrasonic beam with the capability of setting beam parameters such as angle, focal distance and focal point size through computer-controlled excitation. Furthermore, this beam can be multiplexed over a large array. These capabilities offer a series of possibilities. For instance, we can now quickly vary the angle of the beam to scan a part without moving the probe and replace multiple transducers with a single element that produces various angle beams electronically. Inspecting a part with a variable angle beam also maximizes detection regardless of the defect orientation, while optimizing the signal-to-noise ratio. Phased Array applications include Angle beam inspection primarily used for weld inspection, Time of Flight Diffraction (TOFD) for detection and sizing of defects and the ability to more readily inspect complex geometries. For weld inspection Phased Array increases the probability of detection by offering the inspector additional tools to visualize the reflectors and their position within the weld. The ability to record the weld scans also allows us to utilize a phased array for many projects that are constructed to ASME Code requirements.
Advance NDT and TOFD
TOFD is utilized for the rapid scanning of welds and the heat-affected zones of in-service components to detect their integrity. However, due to the software image utilized in TOFD, we normally recommend using Phased Array technology to image the defects once they have been detected using TOFD.

